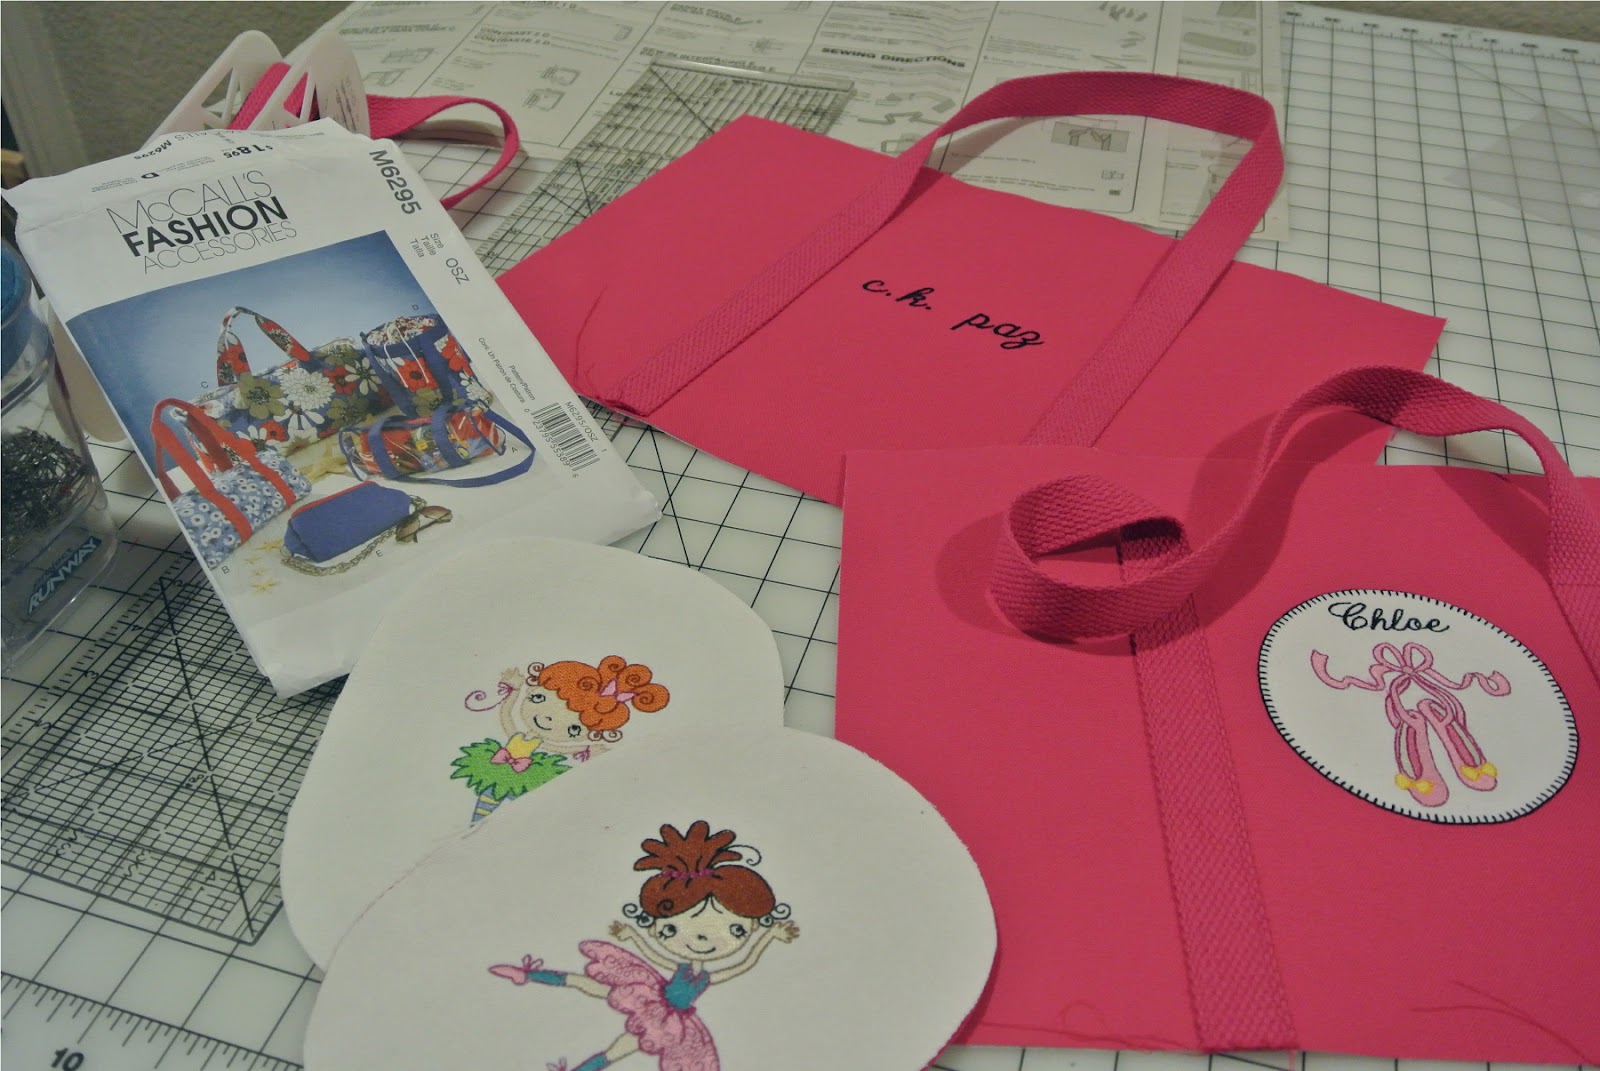
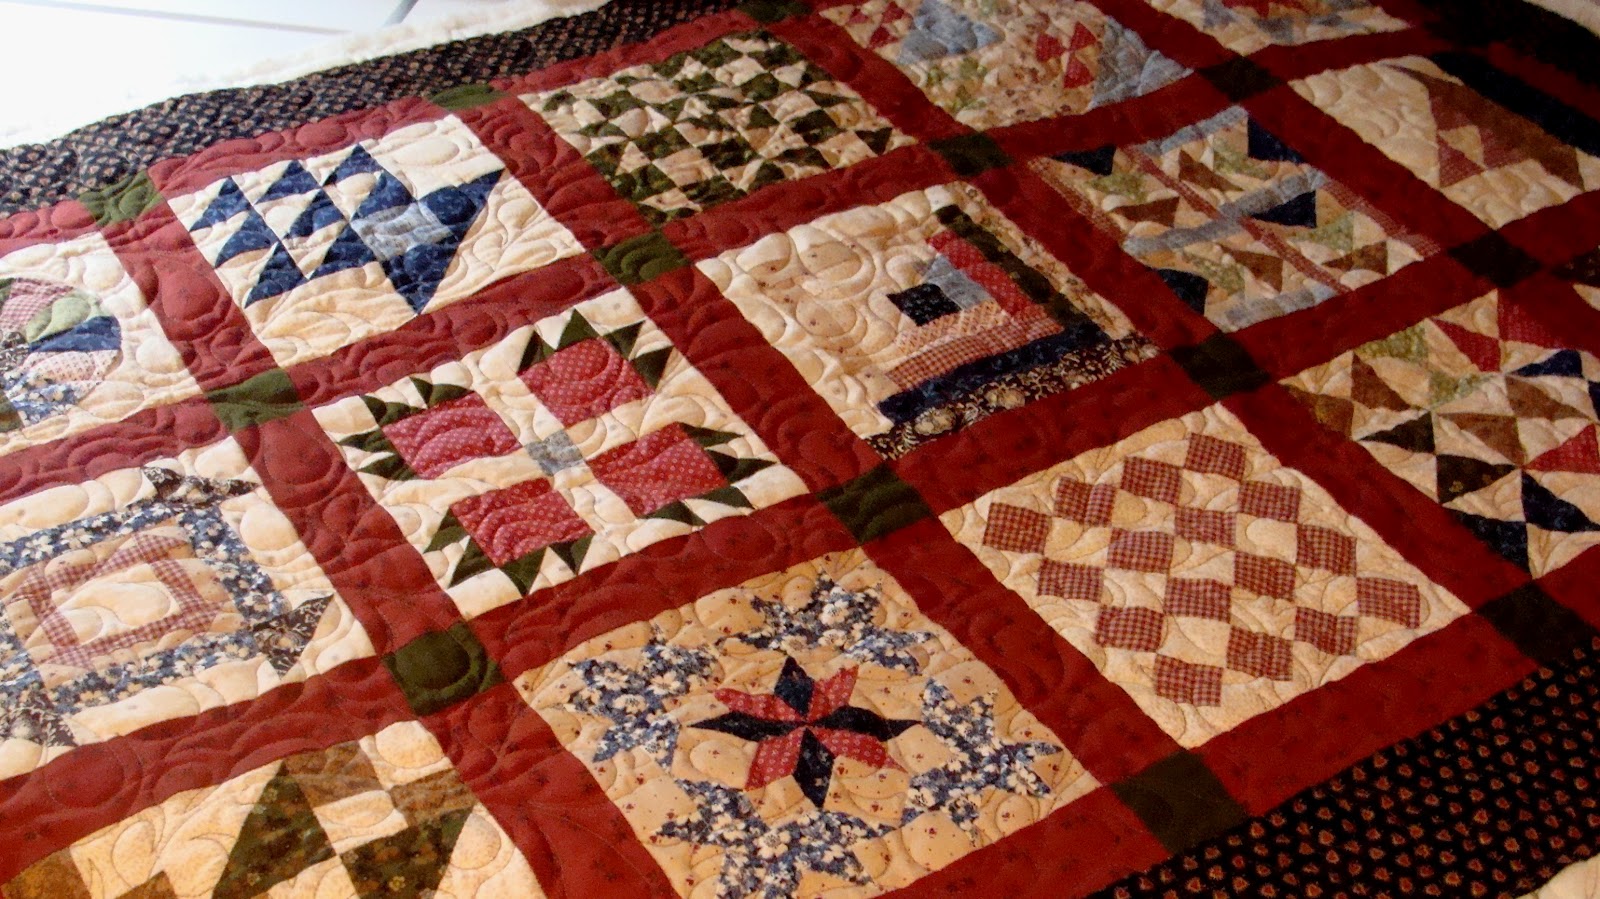
Sunday, December 23, 2012

Shells and Picots; Toddler's Poncho

Shells & Picots - Size 18-24 months
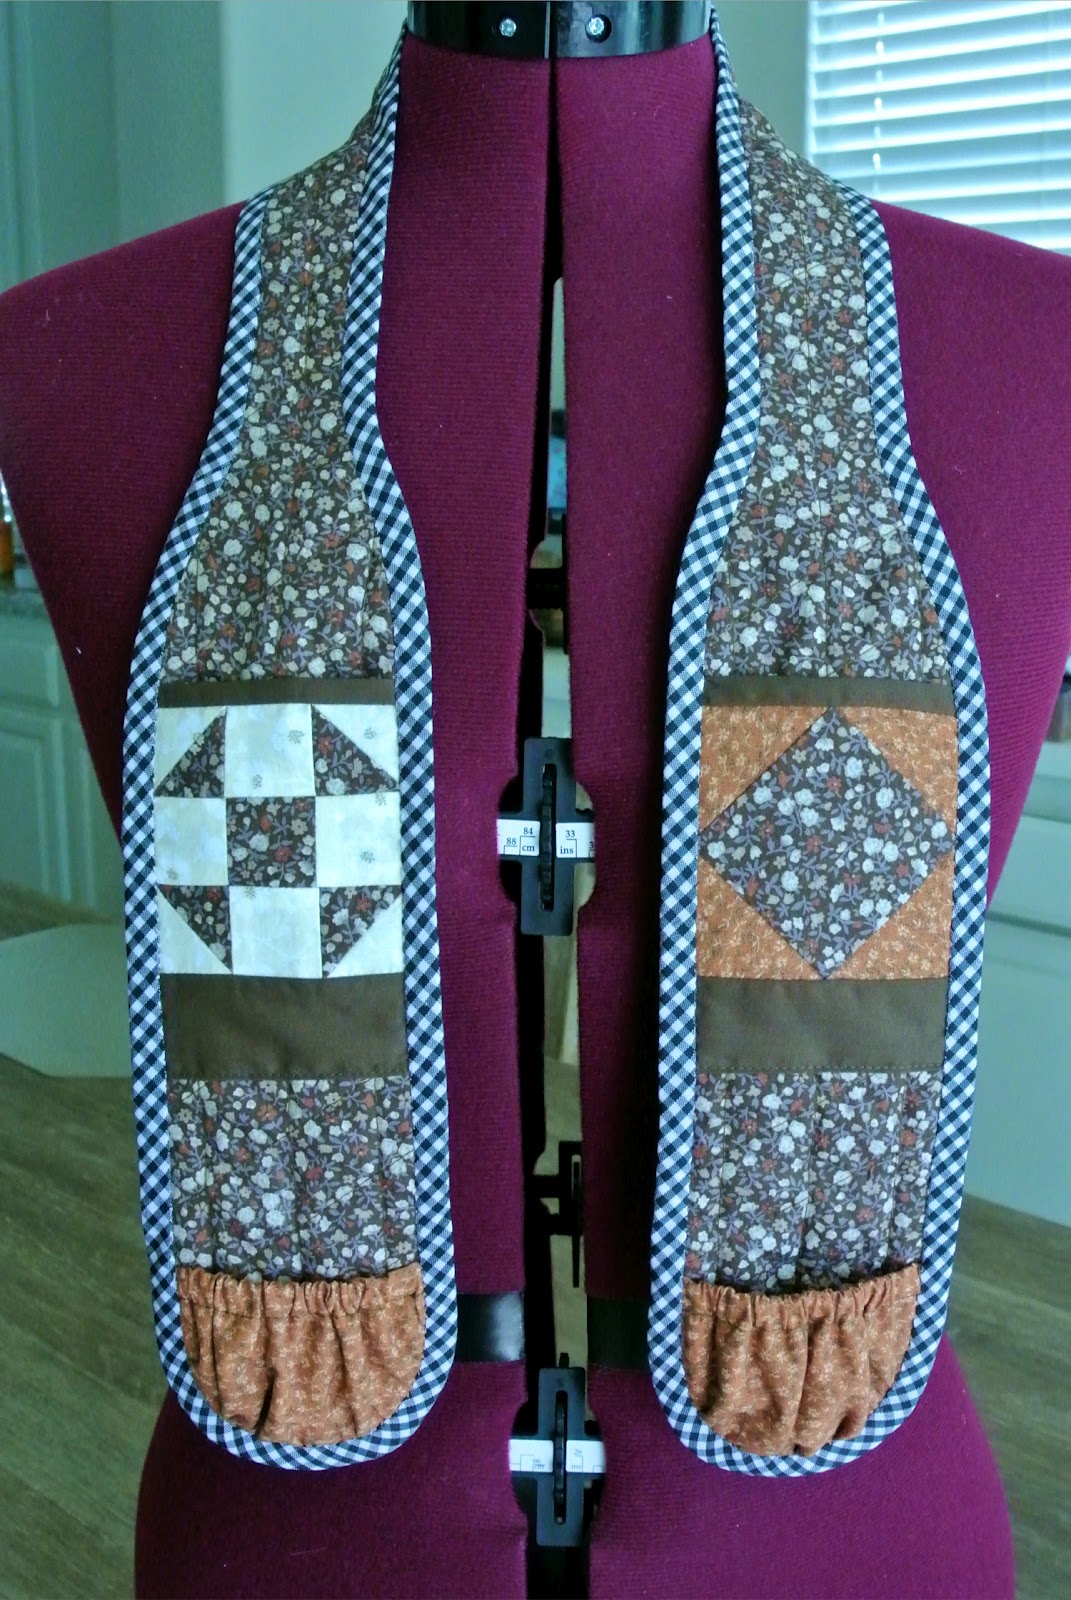
Found this crochet booklet on the clearance rack at JoAnn's for only $1.97. These designs are darned cute, so I thought I'd test one out. The little Shells and Picots poncho (pictured) hardly took any time at all to crochet. It's an uncomplicated design, but the yarn I pulled from my bag is just a bit scratchy because of the sparkly thread that runs throughout the yarn. I would use a softer yarn next time, something with a more comfortable feel against the skin. We'll see if the girlies like capes and ponchos and then go from there.  I plan to add a tie string at the neck, with little pompom ends.


Saturday, December 22, 2012

Merry Christmas, Chloe!

Chloe in her apron!
Here's Chloe in her Christmas apron.  Those cookies look yummy, Chloe!

Friday, December 21, 2012

Frosty morning at the Casita...

Spicy oregano, green onion and garlic,
with Johnny Jump Ups for a spot of color
 
Rose geranium
Hey!...isn't this that end of the Mayan calendar date, when all things were speculated to end? Apparently not; so far so good, thanks be to God.  8 a.m. at the Casita; I woke up to clear blue skies and oh so cold temperatures outside.  Here are two closeups from the back garden area, which I snapped early this morning.  Outside, the leaves are frosty everywhere. The sun has not hit this area of the garden yet, but it's coming.  I'm hoping there will not be too much frost damage.   Lucky me, my little herb garden is a small area.  Protecting these tender plants from freezing cold night temps should be a manageable project.  We've lived in snow country before, in the Sierra Mountains, at above 5,000 ft.  A little frosty freeze from time to time in Temecula is tolerable here at the Casita, a place where it's normally sunny and warm.  But my poor tender plants; oh how they suffer...brrrr!


Tuesday, December 18, 2012

Little Christmas Aprons...

Simplicity 2699; Size 3 and Size 1/2 pictured.  View the back of the l'il apron on the right at www.mysewingbasket.blogspot.com. It's pretty darn cute.


Sunday, December 16, 2012

2012 commentary

I wrote the following excerpt at the end of 2009, and here it is now the end of 2012 with a New Year looming ahead.  With recent events that have unfolded, tragically affecting the lives of innocents and horrified bystanders, that certain sadness noted in 2009 prevails once again.  The best I hope to do is to continue to move forward toward the Light, casting aside darkness at every turn.  Compassion, positive interaction, forgiveness, love, prayer; this simple artist sends these thoughts into the Universe to help in the healing, for every one of us makes a difference.

 "There's a certain sadness that weighs heavily upon my heart, especially as I ponder the state of Planet Earth and humanity as a whole as we move forward into the New Year. In 2010 I will be working on numerous arts projects. I am just a simple artist who hopes to make a small difference through creative expression and positive interaction. So much to do, so little time."

Thursday, December 13, 2012

Kwik Sew Vest 3705

Kwik Sew #3705 - inside detail
I have a new vest, just finished, which I posted on www.mysewingbasket.blogspot.com.  Yipee!  It's done!

Thursday, October 18, 2012

Halloween playtime blankets...

Here they are...playtime blankets finished in time for Halloween.  These will be in the mail tomorrow, on their way to Idaho.  I decided not to use batting in between either of these simple quilts.  Two pieces of fabric quilted together and then finished with a complimentary binding worked out just perfect for what I had in mind.  These are small, lap-size quilts; just the right size for two little girlies to snuggle with.

Wednesday, September 26, 2012

Ballet bag...all done!

Chloe's bag:  This side...

...that side.  All done!
Here it is...a ballet bag for Chloe.  I used white fabric on each end (instead of pink), each side embroidered with cute little ballerinas, because the pink duck cloth was not easy to embroider on and the colors were simply not as vibrant.  Hurray! all done.

Tuesday, September 25, 2012

Ballet bag for Chloe

Ballet bag for Chloe...in the making
Chloe will be 4 yrs old in November.  New beginnings for Chloe this autumn, as she has just started preschool part time, as well as ballet lessons.  Chloe saw little girls performing at the mall and fell in love with ballet.  She loves to go to school and loves her dance class, too.  Leaving the nest and her baby sister behind for a few hours a week is a big adventure that our Miss Chloe enjoys thoroughly.  Chloe is in need of a dance bag so I am sewing one up for her.  I made a prototype bag and so I know that this one will come together nicely and quickly as well.  No problem inserting the zipper, but my biggest challenge has been to insert the lining nicely.  The duffle will measure 7" x 14" when finished and will be just the right size for Chloe to carry her things in.  There is an embroidery unit built into my sewing machine which I finally have the opportunity to make good use of.  As you can see in the photo, I am customizing Chloe's bag.  (Did you see?  Chloe and I share the same initials, C.K. Paz.)  I could easily complete this bag in one day, but I have taken two days instead.  This bag will be finished today; that's a for sure.

Wednesday, September 12, 2012

Bubbles...


BUBBLES
 Round and bouncy, delicate orbs;
merriment in motion.

Mini Pie Maker...Chicken Pot Pies

See what I made?
Here's my own recipe for yummy chicken pot pies, using my brand new Breville Mini Pie Maker.  I also use this recipe to make handheld pies.  You may want to include cooked potatoes, mushrooms, onions or peas and carrots to this recipe according to your own preference, but pre-cook before adding any of these ingredients to the filling so that those veggies will be yummy tender.

FILLING INGREDIENTS:
2 cups chopped and shredded, *roasted chicken breast
2 tbsp flour
1 tsp Knorr chicken boullion granules
1/2 tsp Lawry's garlic salt
A sprinkle of pepper
About 1 cup chicken broth

*ROASTED CHICKEN BREAST:
Place chicken breasts skin side up on a baking sheet.  Drizzle with olive oil.  Generously sprinkle with salt (I use kosher salt) and pepper.  Place in pre-heated 350 degree oven; bake for about 35 minutes or until done; meat temperature should be about 165 degrees inside.  Don't overcook!  Remove from oven when done; allow to cool.  Strip and discard skin and bones, then chop and shred chicken meat into chunks.  All done!  I usually roast and prepare a large pack of chicken breasts, then divide pieces into 2-cup portions and freeze, to be used as needed.

CHICKEN PIE FILLING:
Combine flour, chicken boullion granules, garlic salt and pepper in a large sauce pan.  Slowly add chicken broth, stirring constantly.  Continue stirring over a medium heat until sauce begins to bubble and thicken.  Add chopped roasted chicken pieces to sauce.  Remove from heat and allow to cool. 

PASTRY:
3-1/2 cup flour
2 tsp. baking powder
1 tsp. salt
1 stick butter, chilled well and cut into 1/2" pieces
1/2 cup vegetable shortening (I used lard for a very flaky crust)
5 tbsp (or more) ice-cold water

Combine flour, baking powder and salt.  Cut in butter and shortening until mixture resembles a coarse meal.  Add enough cold water for the dough to come together and form a ball.  Knead until smooth.  Let rest for 10-15 minutes. 

BREVILLE MINI PIE MAKER:
Roll out dough, top and bottom crusts; fill and cook in pie maker, according to manufacturer's instruction.

TO MAKE HANDHELD PIES:
Roll out dough and cut out 5" or 6" circles.  Fill each circle with cooled chicken filling (about 2 tbsp per circle).  Fold in half and crimp around edges; slash top to allow steam to escape.  Brush tops of pie with an egg wash (1 egg slightly beaten with a little milk or water added).  Pre-heat oven to 400 degrees.  Place pies on a foil-lined cookie sheet and bake for 15-20 minutes or until pies are golden brown.


Thursday, September 6, 2012

Sourdough starter...

The sourdough experience begins...
Today I received sourdough starter that I ordered, all the way from Vermont, from the King Arthur Flour Company.  Accompanying paperwork says this starter has been passed down in one form or another for the past 250 years.  That's a long time ago!  Tonight, I began the process of getting my starter to come alive.  If all goes well, it'll be bubbling and ready for use in no time at all.  Today's date...September 6, 2012.  I kept a sourdough starter years ago, but somehow over time, I let it fizzle.  You have to feed the starter regularly to keep it going.  Nonetheless, I have many good memories of sourdough pancakes, biscuits and breads that my family enjoyed way back when.  Sourdough starter; I'm ready to commit to its keeping once again; maybe pass it along to my granddaughters some day.

Thursday, August 30, 2012

What are you doing today, Calico Quilter?

Halloween fabric; 2012 season


Halloween blankies in the making
Following the picture of Halloween fabrics above, here's today's project.  I'm focusing on autumn crafty things that need doing.  That means putting aside a couple of other projects that are on my table, but only for now, to make Halloween quilts for the girlies.  I imagine my little girlies examining their finished fun-time quilts with curiosity.  The prints are so adorable, there's not much I have to do to make these quilts be special.  A little bit of work, work, work, but oh such fun to make!  It's a very quick project and these will be done in no time at all.  Then it'll be back to the 8-point scrappy star wall hanging (leafy appliques are almost all stitched down) and the quilt blocks (about 12 more blocks to make) for my Colores quilt top.


Queen of the Wind...


Tuesday, August 28, 2012

Zucchini Pickles Recipe

Here's the recipe for Cindy and others who may want to give it a try.  I took this recipe from a cookbook that I had passed along to my daughter-in-law.  All credit for this recipe goes to Zuni Cafe and that cookbook, which I can't remember the name of.  (Click on photos to enlarge.)


Monday, August 27, 2012

Putting up preserves...

Here's this year's batch of jams made by me own self.  There's Strawberry, Peach Jalapeno and Spicy Blueberry.  I thought putting the "spicy" in the blueberry preserves would be a nice touch, but Ray prefers it plain.  Next year I'll remember to keep it simple.  Making jams and jellies require a boatload of sugar, but I follow the recipe exactly, for fear of the jam not setting up. 

Sunday, August 26, 2012

Grape harvest at the Casita...

Red Flame Grapes...this year's harvest
Red Flame Grapes...the plant
Temecula is known throughout Southern California for its wineries and has a Wine Country of its own; wine tasting, hot air balloons, award-winning wines; we've got 'em for sure.  Maybe this part of the country is meant for grape growing.  I brought home one bare root plant from Home Depot in early spring with great expectations, a Red Flame seedless variety; kept it potted, don't know why, instead of putting it into the ground; never did stake the plant, but should have.  The fruit of my efforts?  tah dah!!  See me own bunch of grapes?  The one tiny grape that I taste-tested is good, but size and quantity...not so much.  Side note:  The possum came after my strawberries, but not the grapes.  I wonder why not the grapes...  Maybe I'll try a couple more grape vines (this time in the ground) next planting season...Calico Quilter's teeny tiny vineyard; LOL!  Maybe the possum missed the grapes because they are so tiny? 
The possum missed the grapes, but Henry didn't miss the possum...run, run, run...bark, bark, bark...run, run, run...that's Henry language for "Go away you possum!"  Henry, the hunter!


Friday, August 24, 2012

Break from quilting...Zucchini Pickles!

Don't these look yummy?  Zuni Cafe Zucchini Pickles, one of the easiest pickles I have made.  After you've followed the recipe, simply put your jars in the refrigerator and they will last indefinitely; no water bath or pressure cooking necessary.  What I like best?  They are yummy and...it's a small recipe; makes two pints as you can see.  If you want the full recipe, just drop me a line.  I added a bit of whole mustard seed and celery seed, mainly because I had them on hand and they add to the pickle flavor.

Saturday, August 18, 2012

Jelly Roll Quilt Tops!

"Jelly Roll Race" quilts...two of them!
In the meantime, in between working on my 8-point scrappy star wall hanging, I've been jumping from project to project just to keep momentum flowing.  For example, I just whipped out two, not one but two,  "Jelly Roll Race" quilts, using a couple of jelly rolls that I had purchased but had no idea what to do with...that is, until my penpal Deb directed my attention to a great You Tube video published by the Missouri Star Quilt Co. (http://www.youtube.com/watch?v=2bEJLnaZQOU).  This video kept me in stitches (LOL) and was instructive at the same time; its banner promises a quilt in less than an hour (mine took about 2 or 3 hrs); my little machine was buzzing!  My penpal and I have just gotten started corresponding, but I can tell she's got a great sense of humor and she's practical, too.  I am just a little bit crazy when it comes to keeping my crafting priorities straight, but I live happily with what I do...keeps life interesting.  Creative chaos and all that, you know!

Edyta Sitar; wall-hanging progress

First corner completed
2nd corner in progress
Each of the four corners of this wall hanging are to be appliqued with this leafy design.  I have completed the first corner.  Each of the pieces has been edge-stitched in place.  This was not so hard to do once I found the right stitch size and, of course, fusible web makes it all possible.  I am now working on the second corner and I expect to have all four corners done pretty quickly.  Then I will move on to preparing the finished piece for quilting. 


Tuesday, August 14, 2012

Underground Railroad Sampler


I posted this miniature quilt quite a while back, but I like to bring it forward again, from time to time.  These are 6" blocks; the design is from "Underground Railroad Sampler," a Quilt-in-a-Day book by Eleanor Burns and Sue Bouchard.  I enjoyed piecing this quilt top and learned that I like to work on miniature quilts; the piecing is tedious but the overall size is so much more manageable.  Since I have a difficult time with machine quilting, I sent it out to a local quilt shop to be quilted.  This is a wall hanging that I made for my husband to hang in his office.  I generally prefer to do hand quilting, but my goal is to one day be able to master machine quilting.

Monday, August 13, 2012

Edyta Sitar; wall-hanging applique in progress

I am working on applying the applique pieces to my 8-point scrappy star wall hanging (design by Edyta Sitar, from her book Scrappy Fireworks Quilts).  I have traced each piece of the applique design onto sheets of double-sided fusible web.  Because there are so many duplicate pieces, I marked each one (for example "D-1 of 4, D-2 of 4, etc.) as I trace, to avoid getting confused.  The picture above shows pieces I have traced and cut out, and ones that have been fused to different fabrics and are ready to press into place.  Once I have arranged the pieces and pressed them into place, I will edge-stitch each piece.  The most time-consuming part of this project will be to edge-stitch each piece.  This is my progress, so far.

Thursday, August 9, 2012

Applique stitch

How I keep track (Bernina 830E)

Applique edge stitch, up close
Still working on my scrappy 8-point star, mini wall hanging.  Edita's design features a beautiful scrappy star as its center, surrounded by appliqued vines and leaves...very pretty.  My star block and the surrounding borders are completed, and now it's time to apply the applique.  Edita's suggested method is to apply the applique pieces with fusible web; I am using Lite Steam-A-Seam 2, and then to finish the raw edges with an edge stitch.  The process is surprisingly not as tedious as you might think; just need to use care and not rush the process.  I am learning to relax my body and let the machine do the stitching (I'm just the guide); otherwise, it can be a really tense workout.

Friday, August 3, 2012

Edyta Sitar; my first 8-point star


My latest favorite quilt designer, Edyta Sitar.  I purchased two of her books, Scrappy Firework Quilts and Friendship Strips and Scraps.  Here's my first 8-point star in the making, from a pattern in Edyta's Scrappy Firework Quilts book.  The scrappy diamond pattern looks intricate but the technique is easy enough, provided you measure and cut carefully.  This is a little ambitious for my first-time, 8-point star, but I wanted a more challenging project, and I wanted to make something I really love.  My greatest challenge has been to distribute colors and prints evenly throughout the star.  Matching each point of every little diamond went quickly once I mastered the technique...again, a little care ended with good results.  Now it's time to piece the star together.  This will be a wall hanging when it's completed.

Friday, July 27, 2012

When I'm quilting, sometimes I forget to do simple things...like cook and clean, go to the market,  or get a haircut even! 

Sunday, July 22, 2012

Chatelaine all done!


Here's my finished chatelaine.  Two flat pockets and two pouches make this a handy quilter's tool belt.  I use mine to keep my thimble, needle, thread, tiny scissors and other ditties close at hand while I'm quilting; very convenient. 

Friday, July 20, 2012

Chatelaine in progress...

My chatelaine in the making
The quilt block in the photo measures only 3 inches; it will become a pocket, and  I will make another one for the opposite side.  Those gathered pouch pockets are nice, too.  This is a fun project; small-scale elements provide a challenge, but are easy enough to do.  The best part is that I'll have a handy chatelaine to keep my quilting tools close at hand; e.g., thimble, tiny scissors, thread, even my glasses.

Thursday, July 19, 2012

Chatelaine Pattern

Chatelaine is defined on Wikipedia as "a decorative belt hook or clasp worn at the waist with a series of chains suspended from it. Each chain is mounted with a useful household appendage such as scissors, thimble, watch, key, vinaigrette, household seal, etc."

Along that line, I am making a chatelaine for when I am quilting or doing needlework.  The one I am making hangs comfortably around the neck and has pockets to hold thimbles, tiny scissors, thread and other odds and ends.  The widest part of the sash is 3" across and 1-1/2" wide at the neck.  You can adjust the length to suit yourself.  This pattern is from Patterns by Annie, www.byannie.com.  Mine is almost done.  I'll be making one for my friend, Kathy who also does crafty things like me, and I know she'll love it as much as I do.  I'll be posting a picture once mine is completed.  I'm planning to make the scrap bag included with this pattern, for catching snips and loose threads.

Monday, July 16, 2012

L'il Sunbonnet Boy; better known as Overall Sam (or Bill)

Here's a simple quilt which I recently pieced together.  I appliqued a little Sunbonnet Boy in his overalls with a polka dot heart patch on his knee, onto the quilt to give it a little bit of extra love.  I did try to use what fabric I had on hand but ended up back at Joann's fabric store anyway.  Coupons come in handy for times like this to keep material cost minimal.

Sunday, July 8, 2012

Idea File


Cherry Cobbler
Lemon Twist
I'm always on the lookout for quilt patterns that I'd like to make or add to my idea file.  Here are two quilt top patterns that are sweet.  I found these listed at www.shopmartingale.com under Quilting ePatterns, $4.99 per pattern.

Saturday, July 7, 2012

Photo issues...

Recently my posted pictures have a dusty look.  It's the lighting, you see.  I need to find a good spot to take my snapshots.  : (  Where oh where? 

Friday, July 6, 2012

Colores quilt progress...

Colores quilt blocks in progress.  These are 14" squares once pieced, including 1/4" seam allowance.  I will make 20 blocks for lap quilt, two done, eighteen to go; approximately 54" x 67-1/2" when finished.

Thursday, July 5, 2012

Colores


Cutting 2" strips for this Colores quilt pattern

Sampling of the fabric palette for Colores
Summer 2012; it's is my goal to complete several quilt tops this summer and then to quilt them by either hand or machine quilting for gift-giving at Christmas.  Today I started cutting two-inch strips for this Southwestern-style quilt top.  These blocks will be easy to piece together.  I have chosen a color palette which is uniquely Southwestern.  Choosing the right colors can be a task; however, it's a creative process that I enjoy.

Sunbonnet Sue


Part of my first and favorite quilt, finally completed after all these years.  Sunbonnet Sue and her friend Sam are warm and cozy additions to a variety of quilt block samples.  These are 12" blocks; all the quilting was done by hand.  I love to work on sampler quilts.

Tuesday, July 3, 2012

New quilt top...shades of yellow and green

Sampler quilt top in the making; shades of lemon yellow and dusty lime green.


This sampler quilt top is nearly done and ready for quilting.  I took most of this fabric from material in my cupboard.  I've read many blogs and clips from other quilters and we all seem to have a common thread that binds.  Ah, the old fabric stash thing.  It's in my mind to sort mine out; use what I have or let it go.  This quilt reminds me of a delicious, fluffy Lemon Meringue Pie.  One mitered corner left to go and then it's ready to be quilted.  I'm debating; should I hand-quilt, try machine quilting, or send it out to be quilted?  Sending it out is not an option.  I dread machine quilting, but maybe it's time to give that a try in the interest of getting it done more quickly.  We'll see.

Wednesday, June 20, 2012

Dresden Plate

New Look #6574; fabric from my stash includes natural tan linen, rusty orange cotton and black and white checked bias tape.


Created this Dresden Plate applique using the EZ Dresden acrylic tool, with bits and pieces of leftover fabric from other projects.

Here's a look, inside out.  I added pockets which are not part of the pattern.  I also quilted the bottom piece.
I am determined to use fabric from my stash and to try out some of the many patterns I have collected along the way.  June, is it?  Not to early to start sewing gifts for Christmas giving.  I selected a bag pattern, something I've wanted to try.  This is a simple  project which moved along quickly to completion.  The pattern called for interfacing to be applied to both fabric and lining for body.  Instead, I used an iron-on Pellon fusible fleece which I applied to the wrong side of the fabric pieces; I did not interface the lining pieces, to avoid bulkiness.  See the Dresden Plate applique which I created using the EZ Dresden acrylic tool?  Fun and easy to make.  I applied the applique using machine stitching.  I decided to quilt the bottom of the bag to create a firm fabric base that was not sloppy.  The black and white checked bias tape turned out to be a nice contrast and was not difficult to apply.  It covers up and finishes the raw seams around the bottom of the bag.  All in all, this took me two days to complete, working on it off and on throughout the day and night.