Wednesday, September 12, 2012
Mini Pie Maker...Chicken Pot Pies
![]() |
| See what I made? |
FILLING INGREDIENTS:
2 cups chopped and shredded, *roasted chicken breast
2 tbsp flour
1 tsp Knorr chicken boullion granules
1/2 tsp Lawry's garlic salt
A sprinkle of pepper
About 1 cup chicken broth
*ROASTED CHICKEN BREAST:
Place chicken breasts skin side up on a baking sheet. Drizzle with olive oil. Generously sprinkle with salt (I use kosher salt) and pepper. Place in pre-heated 350 degree oven; bake for about 35 minutes or until done; meat temperature should be about 165 degrees inside. Don't overcook! Remove from oven when done; allow to cool. Strip and discard skin and bones, then chop and shred chicken meat into chunks. All done! I usually roast and prepare a large pack of chicken breasts, then divide pieces into 2-cup portions and freeze, to be used as needed.
CHICKEN PIE FILLING:
Combine flour, chicken boullion granules, garlic salt and pepper in a large sauce pan. Slowly add chicken broth, stirring constantly. Continue stirring over a medium heat until sauce begins to bubble and thicken. Add chopped roasted chicken pieces to sauce. Remove from heat and allow to cool.
PASTRY:
3-1/2 cup flour
2 tsp. baking powder
1 tsp. salt
1 stick butter, chilled well and cut into 1/2" pieces
1/2 cup vegetable shortening (I used lard for a very flaky crust)
5 tbsp (or more) ice-cold water
Combine flour, baking powder and salt. Cut in butter and shortening until mixture resembles a coarse meal. Add enough cold water for the dough to come together and form a ball. Knead until smooth. Let rest for 10-15 minutes.
BREVILLE MINI PIE MAKER:
Roll out dough, top and bottom crusts; fill and cook in pie maker, according to manufacturer's instruction.
TO MAKE HANDHELD PIES:
Roll out dough and cut out 5" or 6" circles. Fill each circle with cooled chicken filling (about 2 tbsp per circle). Fold in half and crimp around edges; slash top to allow steam to escape. Brush tops of pie with an egg wash (1 egg slightly beaten with a little milk or water added). Pre-heat oven to 400 degrees. Place pies on a foil-lined cookie sheet and bake for 15-20 minutes or until pies are golden brown.
Thursday, September 6, 2012
Sourdough starter...
![]() |
| The sourdough experience begins... |
Thursday, August 30, 2012
What are you doing today, Calico Quilter?
| Halloween fabric; 2012 season |
![]() |
| Halloween blankies in the making |
Tuesday, August 28, 2012
Monday, August 27, 2012
Putting up preserves...
Here's this year's batch of jams made by me own self. There's Strawberry, Peach Jalapeno and Spicy Blueberry. I thought putting the "spicy" in the blueberry preserves would be a nice touch, but Ray prefers it plain. Next year I'll remember to keep it simple. Making jams and jellies require a boatload of sugar, but I follow the recipe exactly, for fear of the jam not setting up.
Sunday, August 26, 2012
Grape harvest at the Casita...
![]() |
| Red Flame Grapes...this year's harvest |
![]() |
| Red Flame Grapes...the plant |
| The possum missed the grapes, but Henry didn't miss the possum...run, run, run...bark, bark, bark...run, run, run...that's Henry language for "Go away you possum!" Henry, the hunter! |
Friday, August 24, 2012
Break from quilting...Zucchini Pickles!
Don't these look yummy? Zuni Cafe Zucchini Pickles, one of the easiest pickles I have made. After you've followed the recipe, simply put your jars in the refrigerator and they will last indefinitely; no water bath or pressure cooking necessary. What I like best? They are yummy and...it's a small recipe; makes two pints as you can see. If you want the full recipe, just drop me a line. I added a bit of whole mustard seed and celery seed, mainly because I had them on hand and they add to the pickle flavor.
Saturday, August 18, 2012
Jelly Roll Quilt Tops!
| "Jelly Roll Race" quilts...two of them! |
Edyta Sitar; wall-hanging progress
![]() |
| First corner completed |
![]() |
| 2nd corner in progress |
Labels:
8-point star wall hanging
Tuesday, August 14, 2012
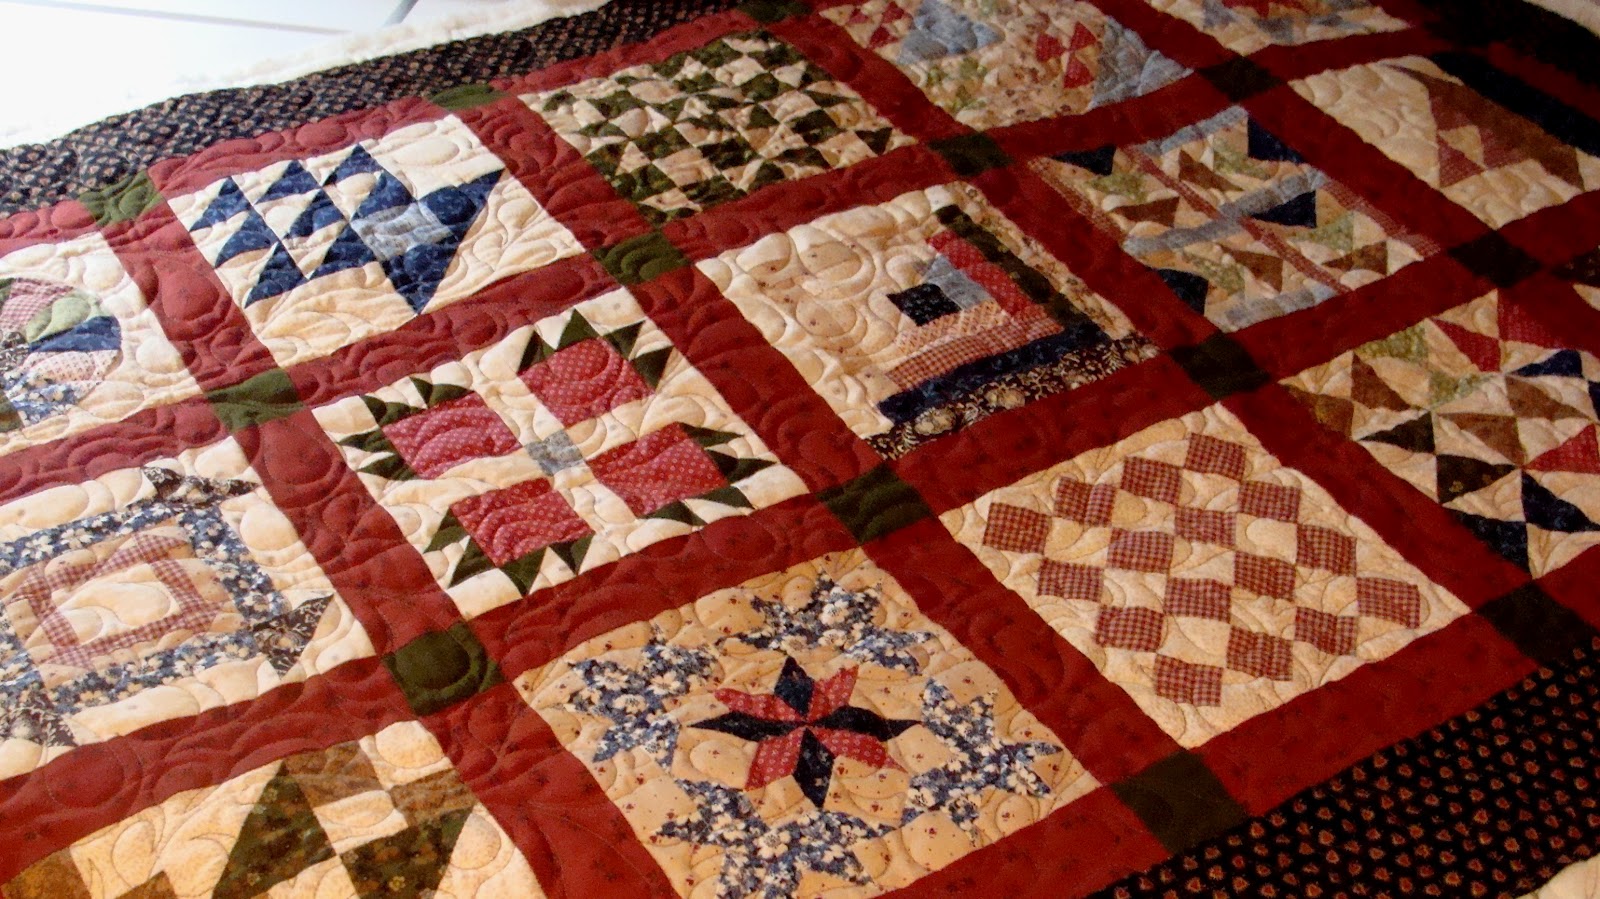
Underground Railroad Sampler
![]() |
|
Monday, August 13, 2012
Edyta Sitar; wall-hanging applique in progress
I am working on applying the applique pieces to my 8-point scrappy star wall hanging (design by Edyta Sitar, from her book Scrappy Fireworks Quilts). I have traced each piece of the applique design onto sheets of double-sided fusible web. Because there are so many duplicate pieces, I marked each one (for example "D-1 of 4, D-2 of 4, etc.) as I trace, to avoid getting confused. The picture above shows pieces I have traced and cut out, and ones that have been fused to different fabrics and are ready to press into place. Once I have arranged the pieces and pressed them into place, I will edge-stitch each piece. The most time-consuming part of this project will be to edge-stitch each piece. This is my progress, so far.
Thursday, August 9, 2012
Applique stitch
![]() |
| How I keep track (Bernina 830E) |
![]() |
| Applique edge stitch, up close |
Labels:
8-point star wall hanging
Friday, August 3, 2012
Edyta Sitar; my first 8-point star
My latest favorite quilt designer, Edyta Sitar. I purchased two of her books, Scrappy Firework Quilts and Friendship Strips and Scraps. Here's my first 8-point star in the making, from a pattern in Edyta's Scrappy Firework Quilts book. The scrappy diamond pattern looks intricate but the technique is easy enough, provided you measure and cut carefully. This is a little ambitious for my first-time, 8-point star, but I wanted a more challenging project, and I wanted to make something I really love. My greatest challenge has been to distribute colors and prints evenly throughout the star. Matching each point of every little diamond went quickly once I mastered the technique...again, a little care ended with good results. Now it's time to piece the star together. This will be a wall hanging when it's completed.
Labels:
8-point star wall hanging
Sunday, July 22, 2012
Friday, July 20, 2012
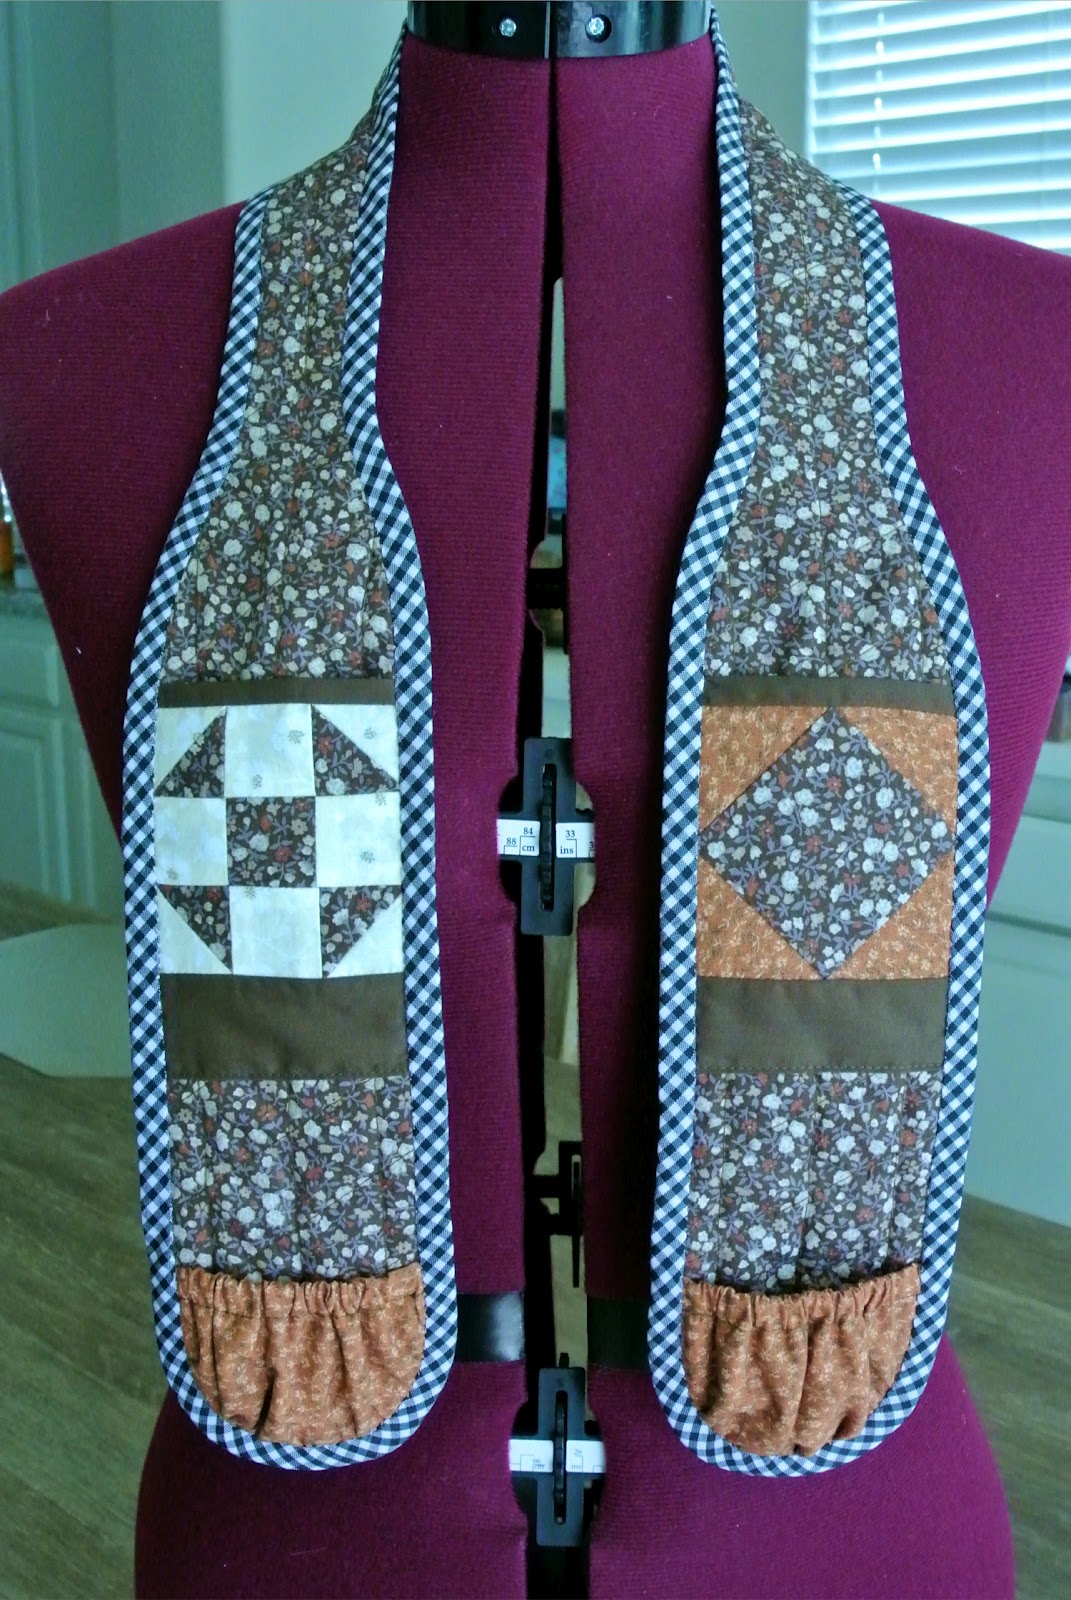
Chatelaine in progress...
| My chatelaine in the making |
Thursday, July 19, 2012
Chatelaine Pattern
Chatelaine is defined on Wikipedia as "a decorative belt hook or clasp worn at the waist with a series of chains suspended from it. Each chain is mounted with a useful household appendage such as scissors, thimble, watch, key, vinaigrette, household seal, etc."Along that line, I am making a chatelaine for when I am quilting or doing needlework. The one I am making hangs comfortably around the neck and has pockets to hold thimbles, tiny scissors, thread and other odds and ends. The widest part of the sash is 3" across and 1-1/2" wide at the neck. You can adjust the length to suit yourself. This pattern is from Patterns by Annie, www.byannie.com. Mine is almost done. I'll be making one for my friend, Kathy who also does crafty things like me, and I know she'll love it as much as I do. I'll be posting a picture once mine is completed. I'm planning to make the scrap bag included with this pattern, for catching snips and loose threads.
Monday, July 16, 2012
L'il Sunbonnet Boy; better known as Overall Sam (or Bill)
Here's a simple quilt which I recently pieced together. I appliqued a little Sunbonnet Boy in his overalls with a polka dot heart patch on his knee, onto the quilt to give it a little bit of extra love. I did try to use what fabric I had on hand but ended up back at Joann's fabric store anyway. Coupons come in handy for times like this to keep material cost minimal.
Subscribe to:
Posts (Atom)